Setup your own locally hosted AI!
With the rise of AI and websites and services like ChatGPT there are many options out there, but what if you want host your own AI on hardware you have at home? No sending data off to someone else’s data centre. Sounds good doesn’t it, well you can do that with a couple of tools on any PC hardware you have.
While this software can be run on any device it helps to have a dedicated graphics card. With a GPU, processing times for the AI will be much quicker. However, don’t fret if you don’t have a dedicated graphics card this will still work just with slower processing times.
So what are the tools we can use to achieve this?
Ollama will be our AI processor and Open WebUI will be the interface so we can talk to our AI.
First lets get the brains of our operation running (Ollama).
Ollama can be downloaded directly from the Ollama Website here
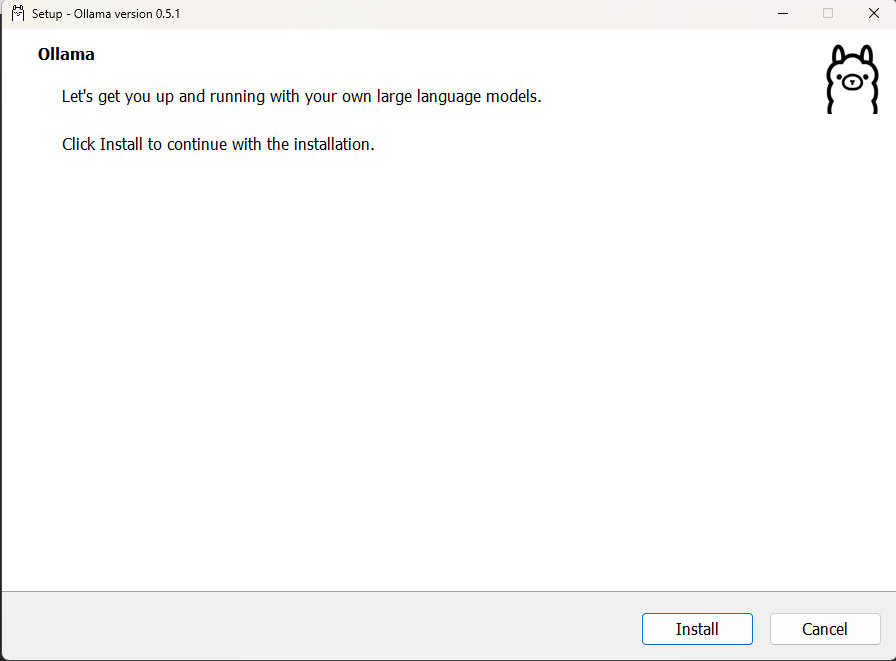
Once downloaded run the setup file and go through the installer.
When the installer has finished we can open up terminal or powershell and use the Ollama command to install our desired model. For this guide we will be using Llama 3.2 but there are others available if you want to choose something else. (full list here)
ollama run llama3.2
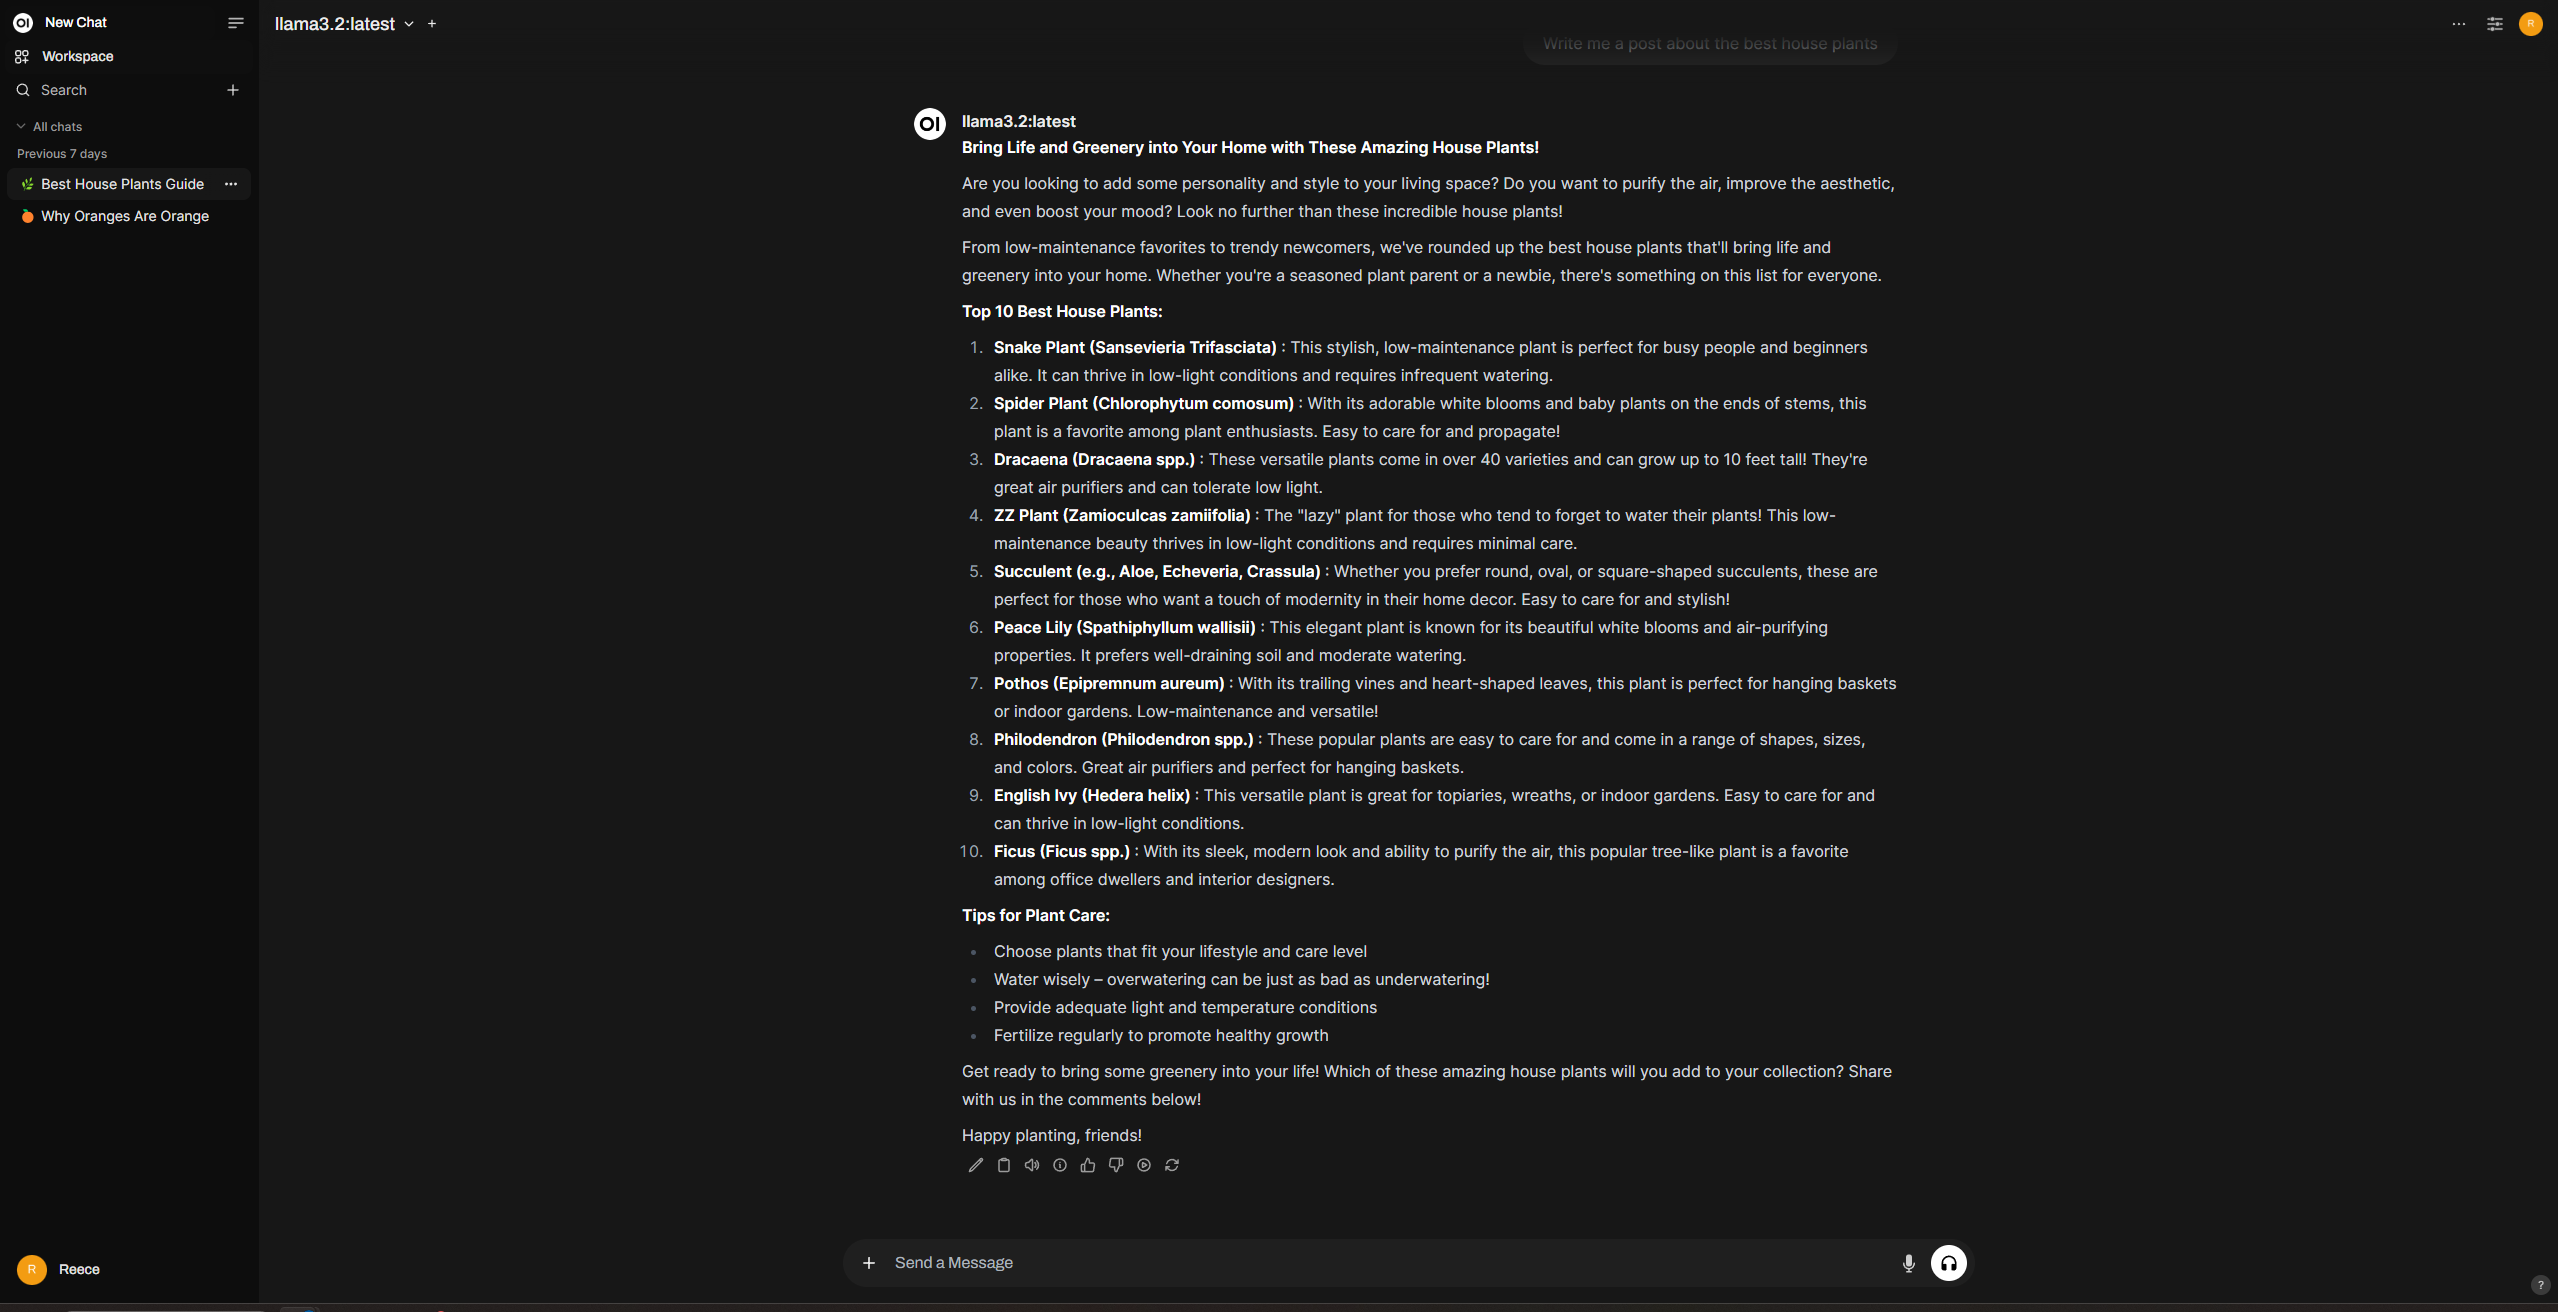
The model will now be downloaded. Once downloaded you should see a prompt to send a message. Here you can ask your AI anything like you would using ChatGPT.

Great so now we have our AI running lets make it look nice in a locally hosted website. This is where Open WebUI comes in. Open WebUI uses the Python package installer PIP so before we can get it installed we need to install Python.
Python can be downloaded from the Microsoft store here. Once installed we’re good to go.
Now to install Open WebUI we need to run a Python Virtual Enviroment.
python3 -m venv venv
.\venv\Scripts\activate.ps1
We can then run the below command to install Open WebUI
pip install open-webui
This may take a few minutes so its the perfect time to grab a tea or coffee.
Launch Open WebUI with the serve command
open-webui serve
Open WebUI can then be accessed via the http://localhost:8080/ URL.
Setup a user and password to login with. This will be your admin account. You can also invite other users on the same network.
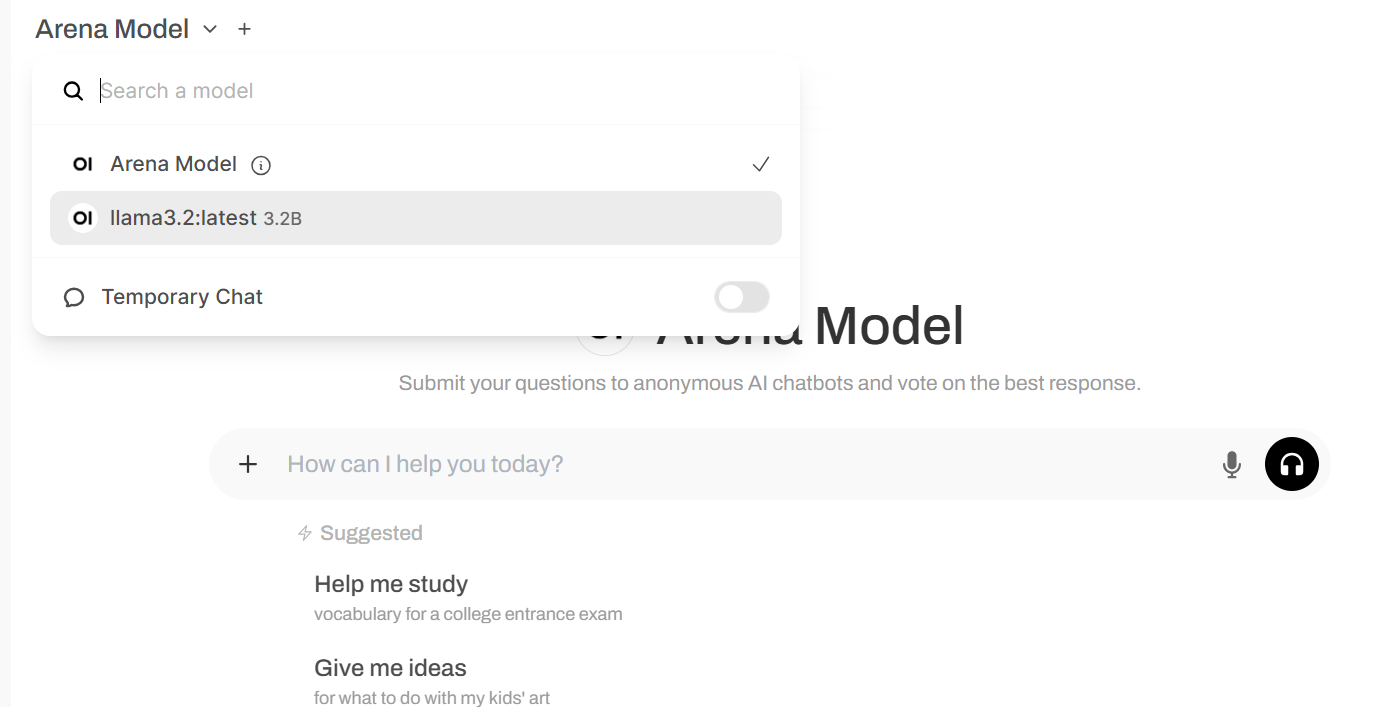
Now that we are in our Ollama model should already be added we just need to select it in the top right
And that’s it, you’re now running your own AI on your own PC! Open WebUI will save your conversations just like ChatGPT so you can always come back to them later.
Lastly, if you reboot your PC, Ollama will auto start. However Open WebUI will not auto start, so you will need to run these two commands:
.\venv\Scripts\activate
open-webui serve